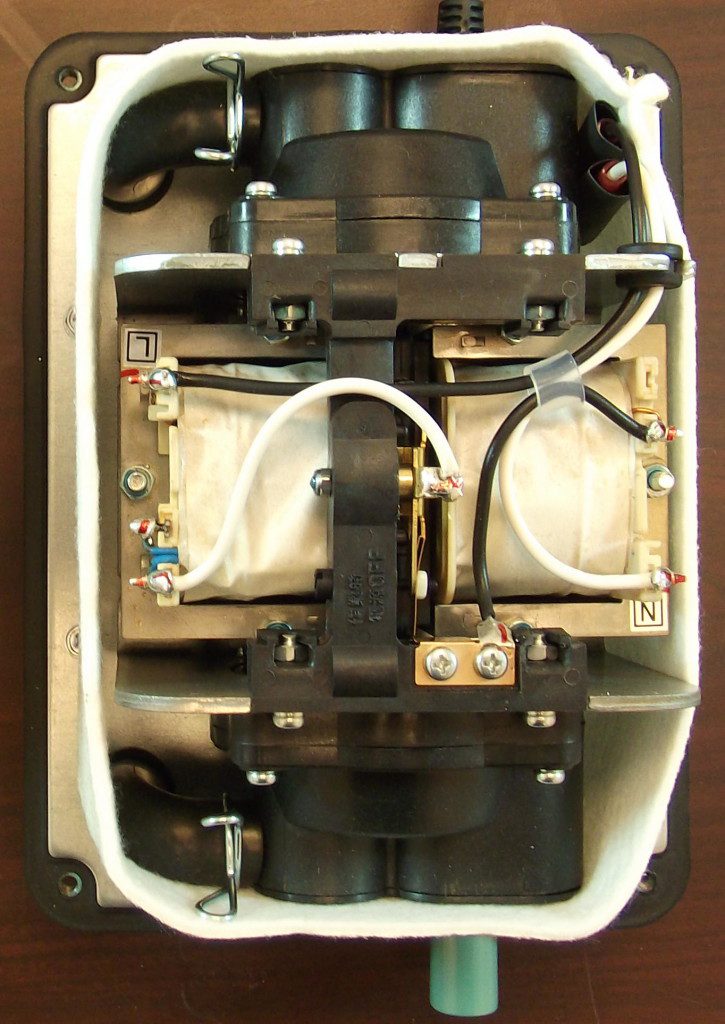
Rebuild A Hiblow Aerator
If your Hiblow aerator has stopped working you may not need to buy a new one. Most of the time when a Hiblow stops working its the result of broken diaphragms. Hiblow designed there aerators so that if the diaphragms break it will not cause further damage to your aerator.
This tutorial will take you step by step through the process of repairing a hiblow aerator using a rebuild kit. In this demonstration we will be using a Hiblow HP 80 & a Hiblow HP 80 Rebuild Kit, however the process is the same and will work for all Hiblow aerators.
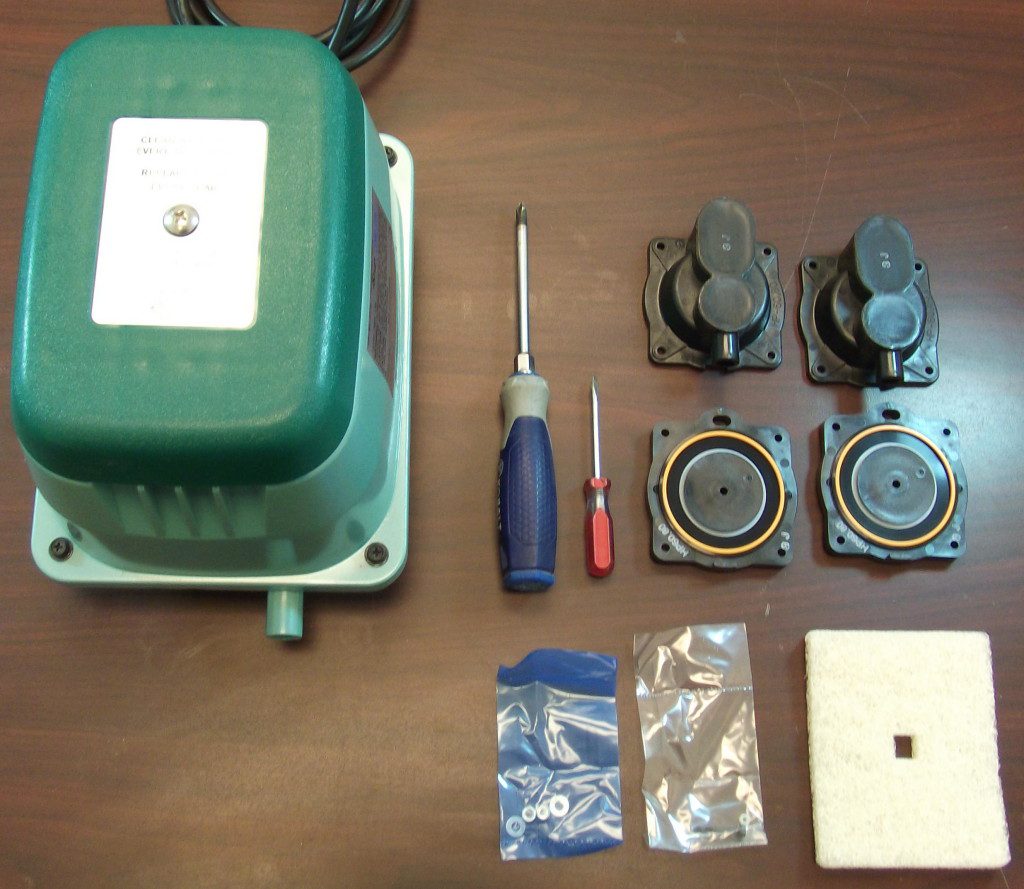
Gather all needed supplies.
You will need all the following to compleate the task.
- Your broken aerator
- The correct rebuild kit for your aerator
- A Phillips head screwdriver
- A 7mm or 1/4″ wrench
- A Flathead screwdriver
Use the chart bellow to make sure you buy the correct rebuild kit for your aerator.
| Your Aerator | Rebuild Kit |
| HP 30 | HP 30 Rebuild Kit |
| HP 40 | HP 40 Rebuild Kit |
| HP 60 | HP 60 Rebuild Kit |
| HP 80 | HP 80 Rebuild Kit |
| HP 100 | HP 100 Rebuild Kit |
| HP 100 LL | HP 100 LL Rebuild Kit |
| HP 120 | HP 120 Rebuild Kit |
| HP 120 LL | HP 120 LL Rebuild Kit |
| HP 150 | HP 150 Rebuild Kit |
| HP 200 | HP 200 Rebuild Kit |
STEP 1: Gather Your Tools & Parts
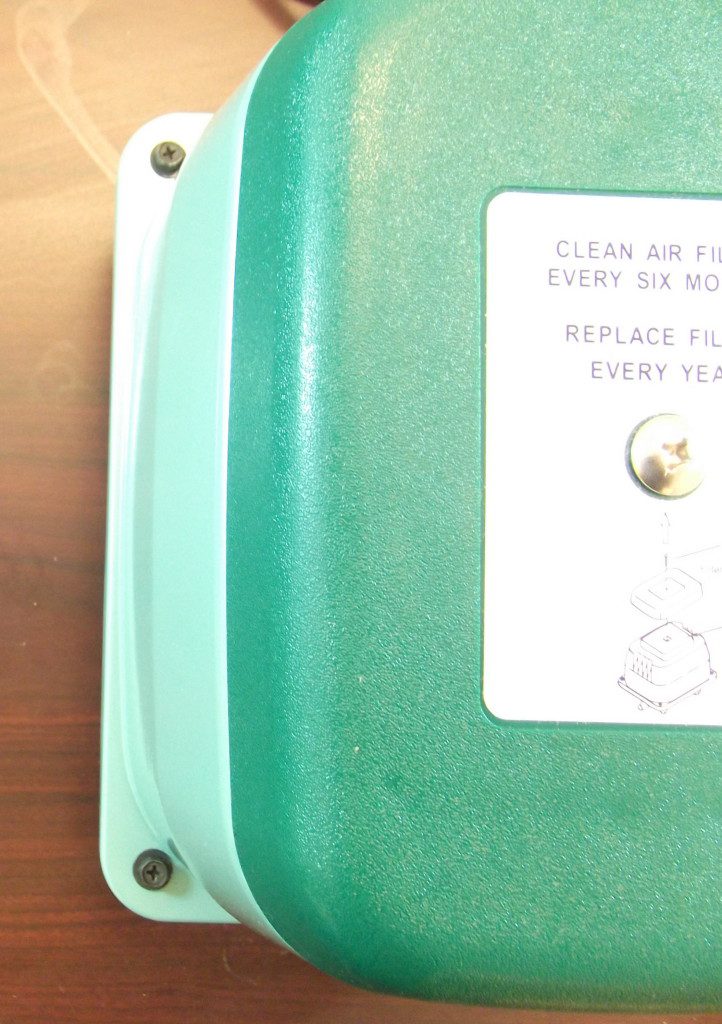
 STEP 2: Remove 4 Bolts
Locate and remove the 4 bolts on the outside edge of the aerator. You will need the Phillips head screwdriver for this.
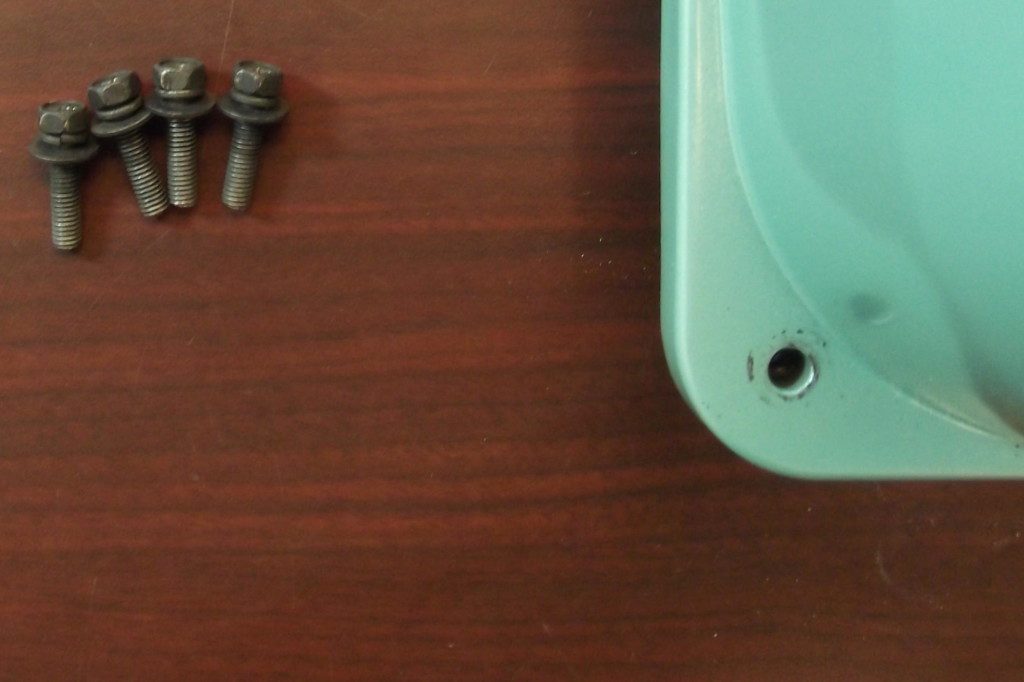 STEP 3: Remove Top Cover
Remove the green top cover from the base. This will reveal the insides of the aerator.
NOTE: The first time this is done it can be quite difficult. If needed use a Flathead screwdriver to pry the cover off.
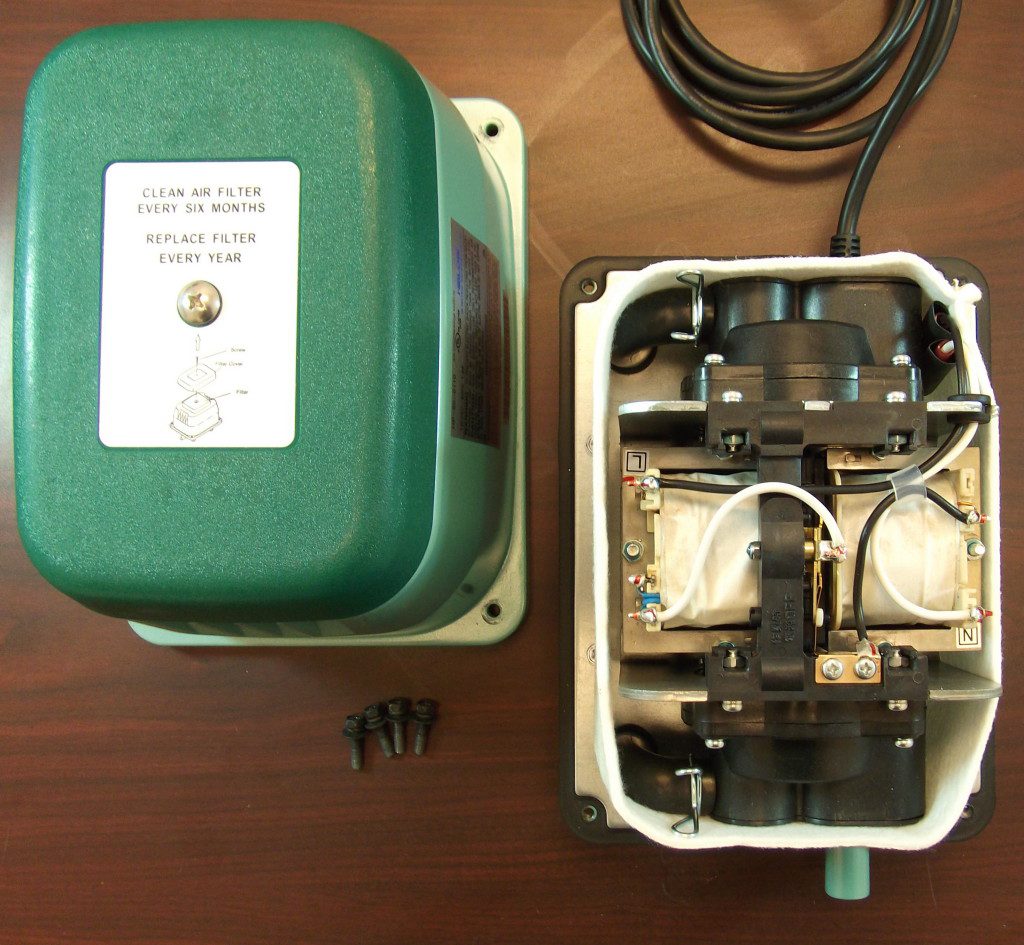 STEP 4: Remove Filter
Remove the rectangular cloth like filter that is wrapped around the unit.
NOTE: This can be very snug be careful not to rip the filter.
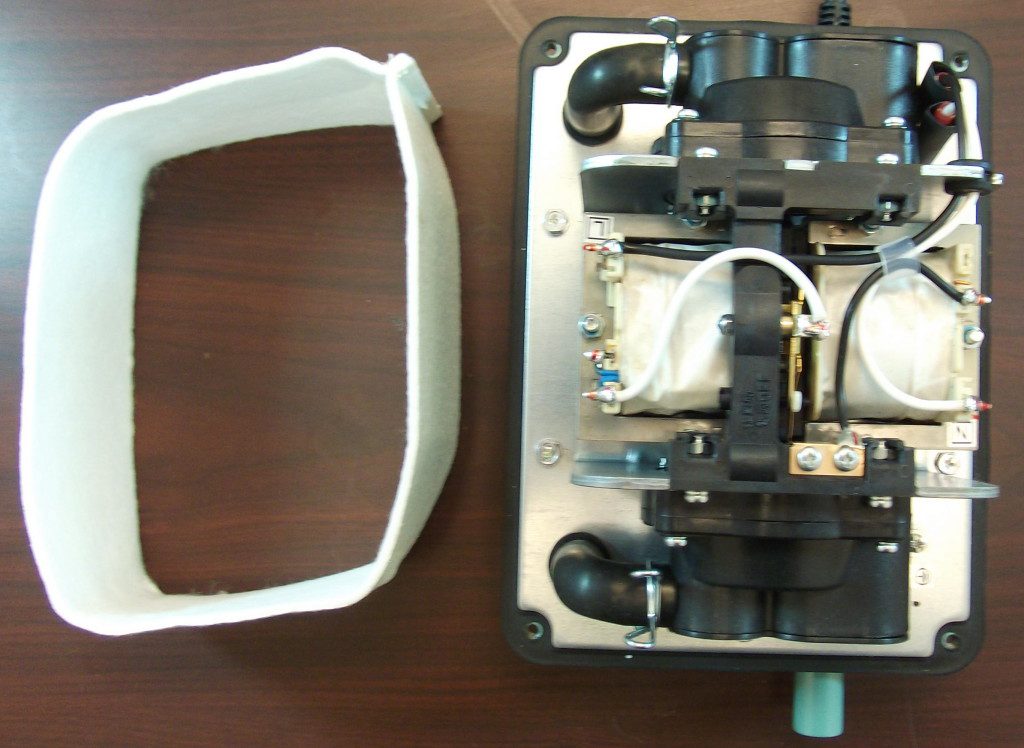 STEP 5: Detach Rubber L-Tubes From Mounts.
Next detach the L shaped rubber tubes from the mounts. You only need to detach the top part (as pictured below). You do not need to detach it from the base.
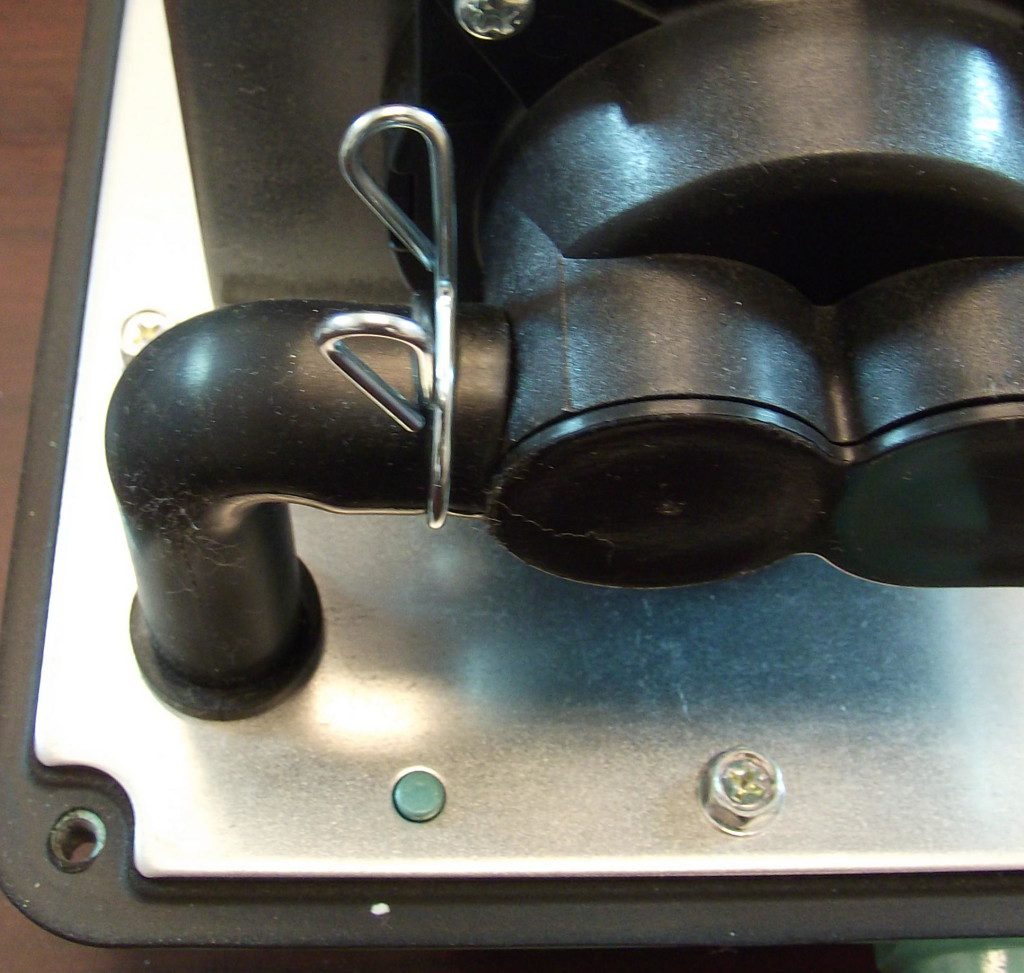
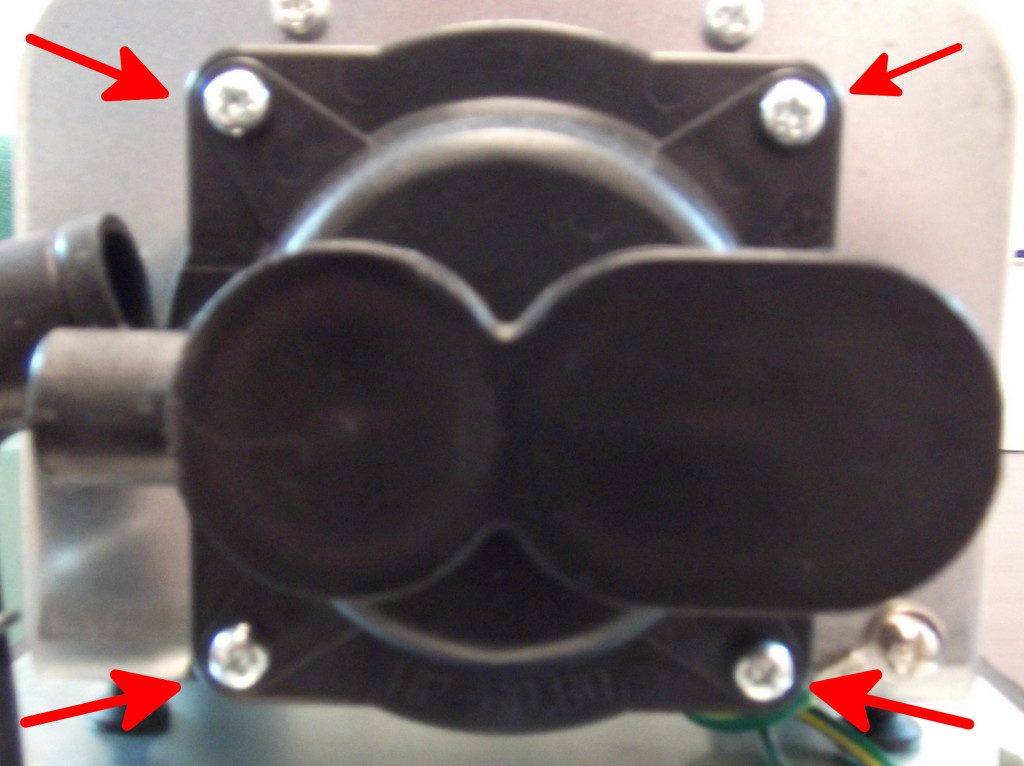
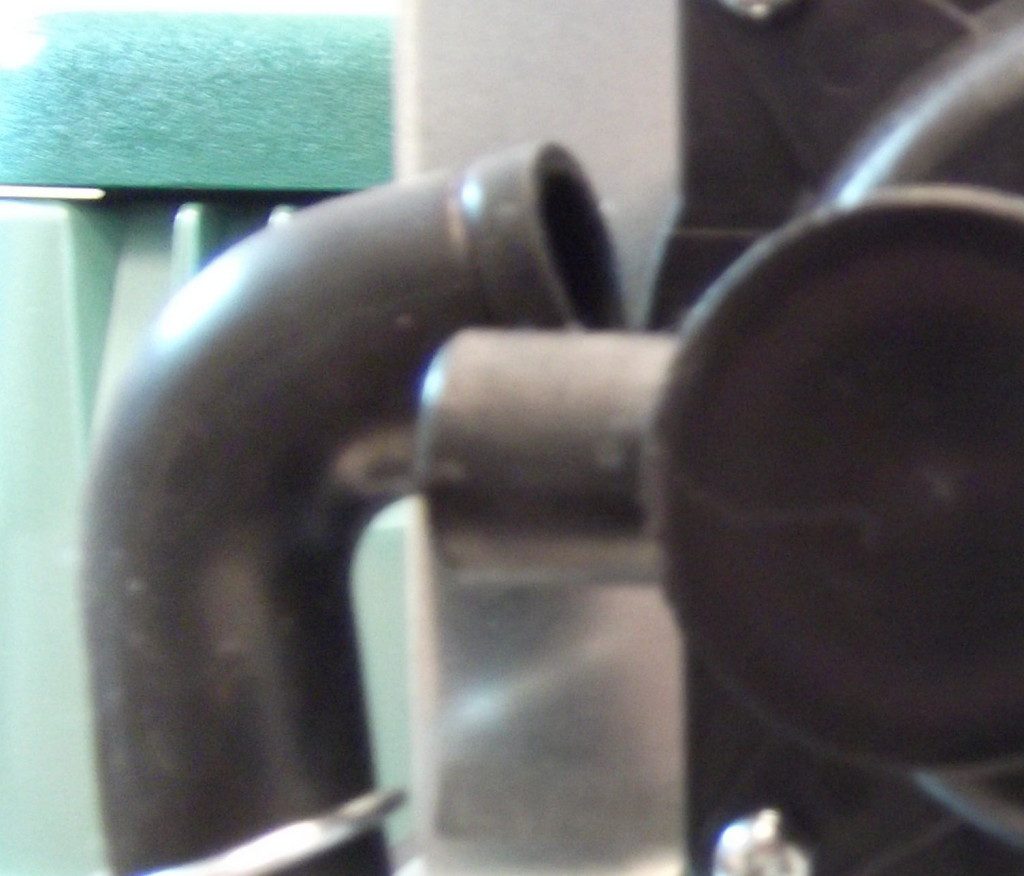 STEP 6: Remove 4 Screws
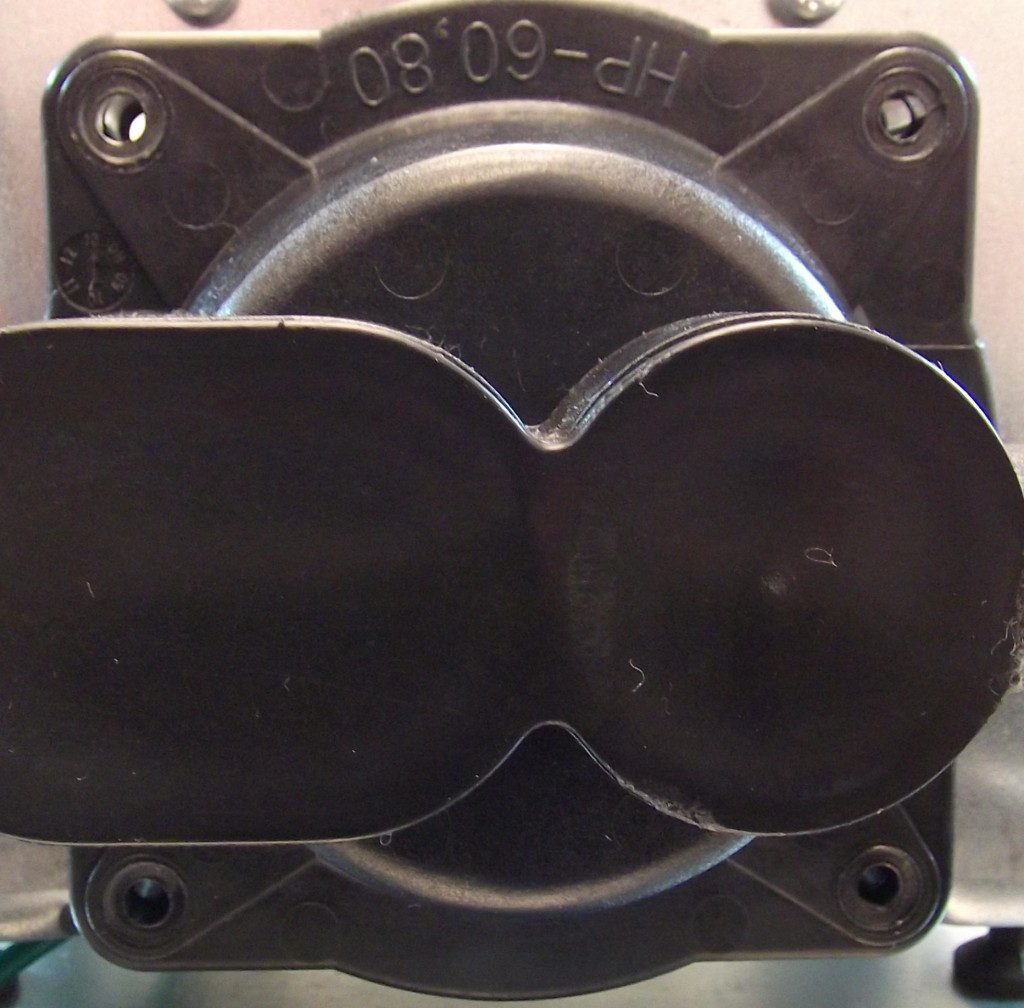
Remove 4 screws on the corners of the mounts to allow you to remove the mounts and the diaphragms.
 STEP 7: Remove Mounting Blocks
Remove mounting blocks, revealing the diaphragms.
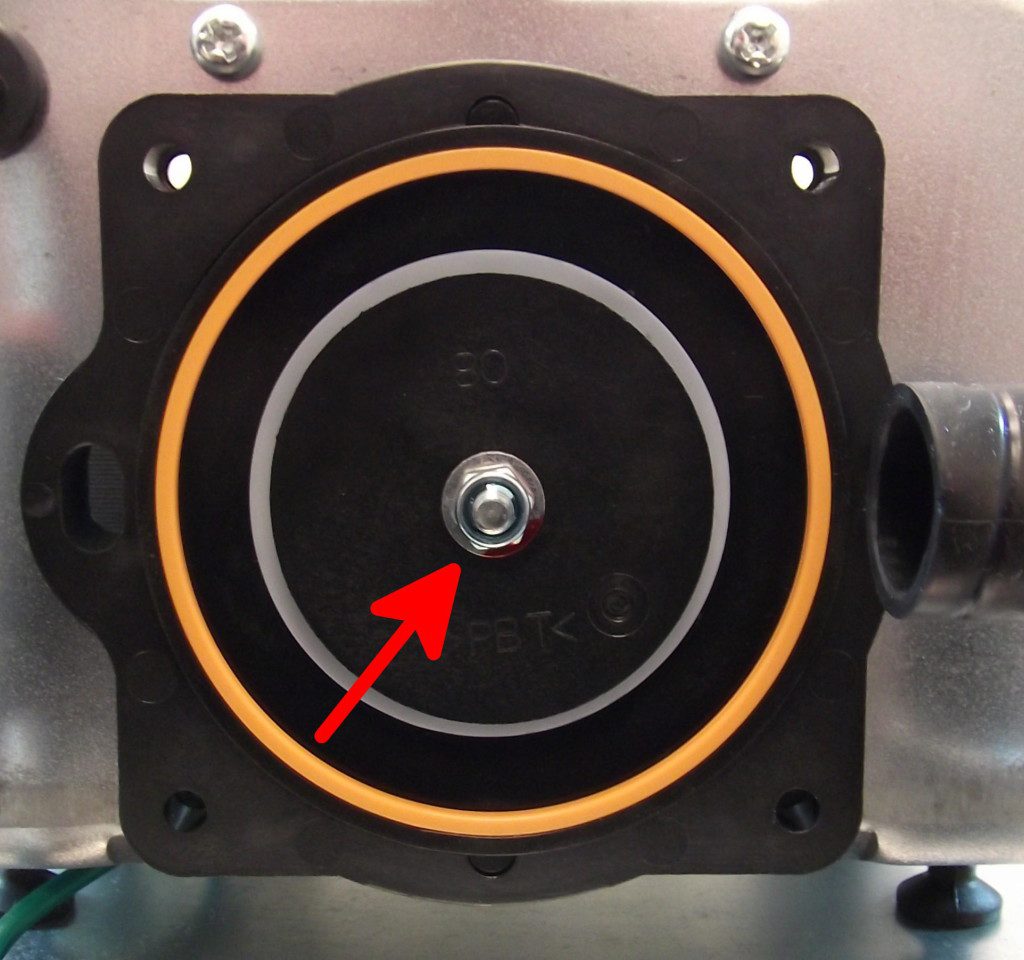
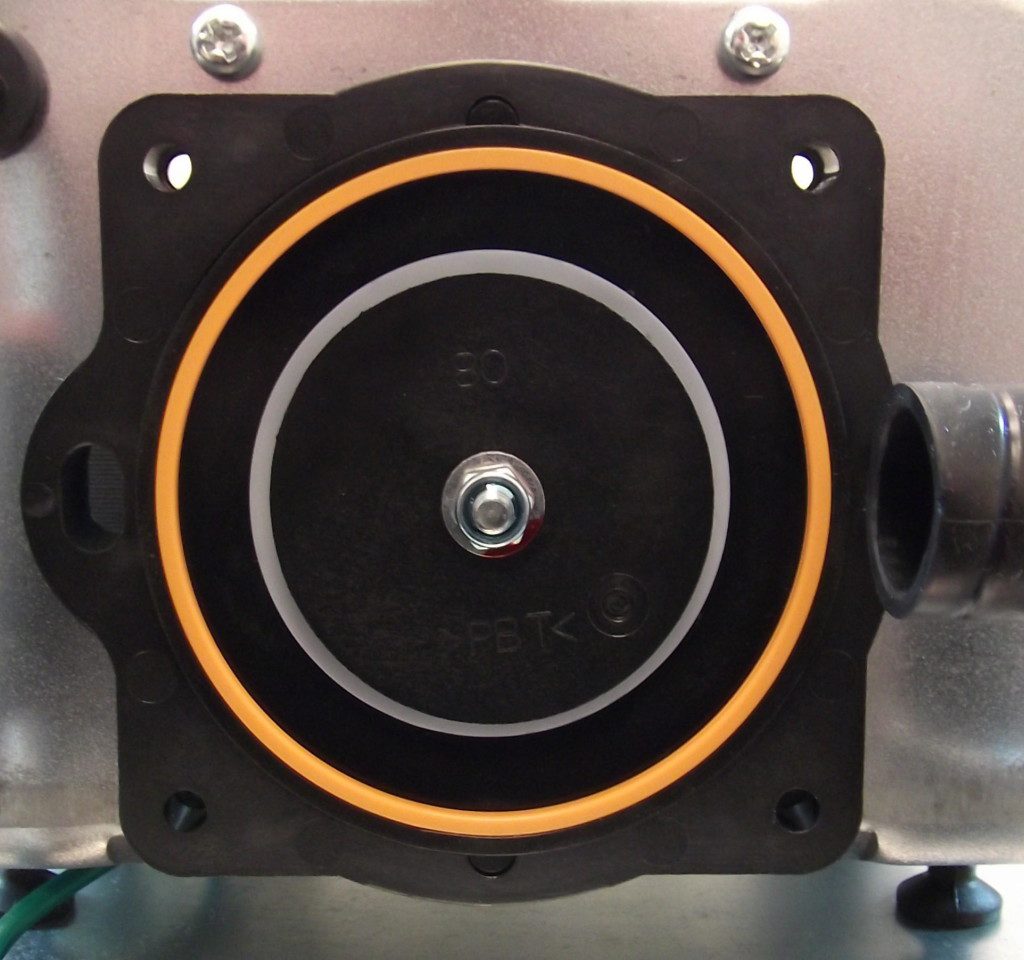 STEP 8: Remove Nut
Remove the nut holding the diaphragms on. Use the 7MM or 1/4″ wrench.
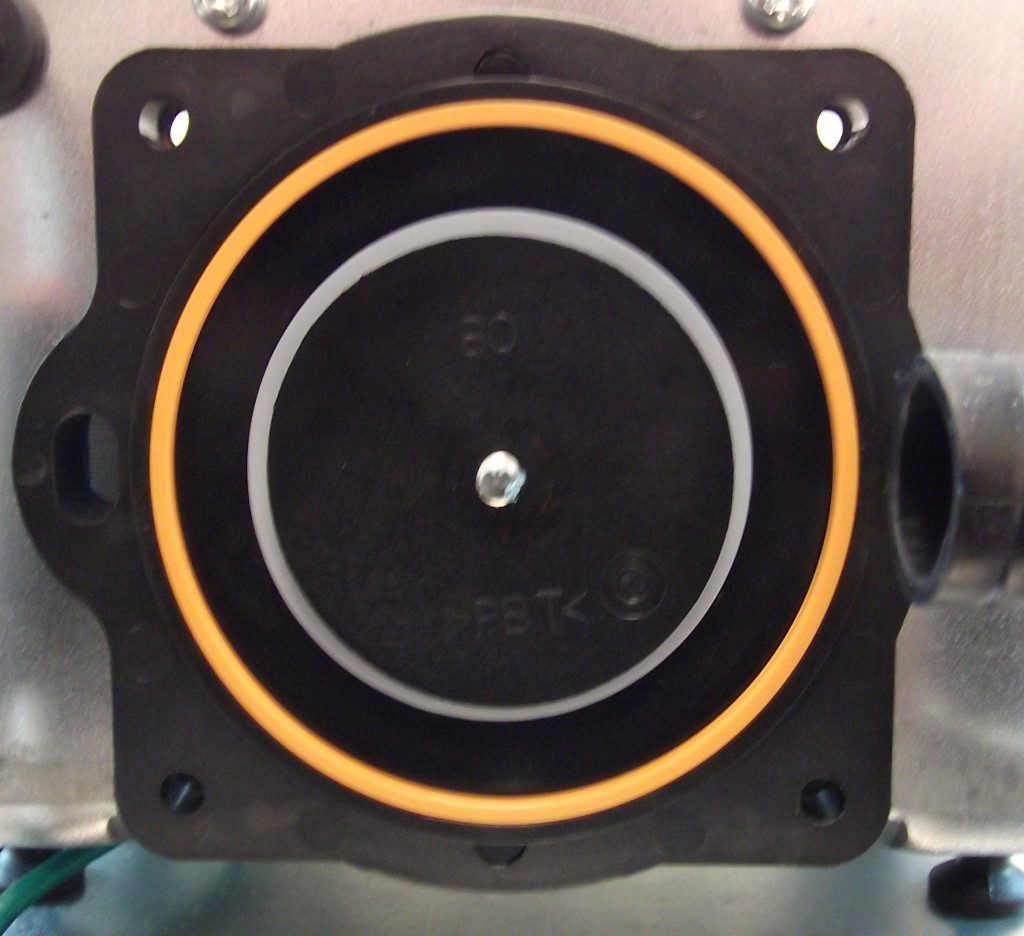 STEP 9: Remove Diaphragms
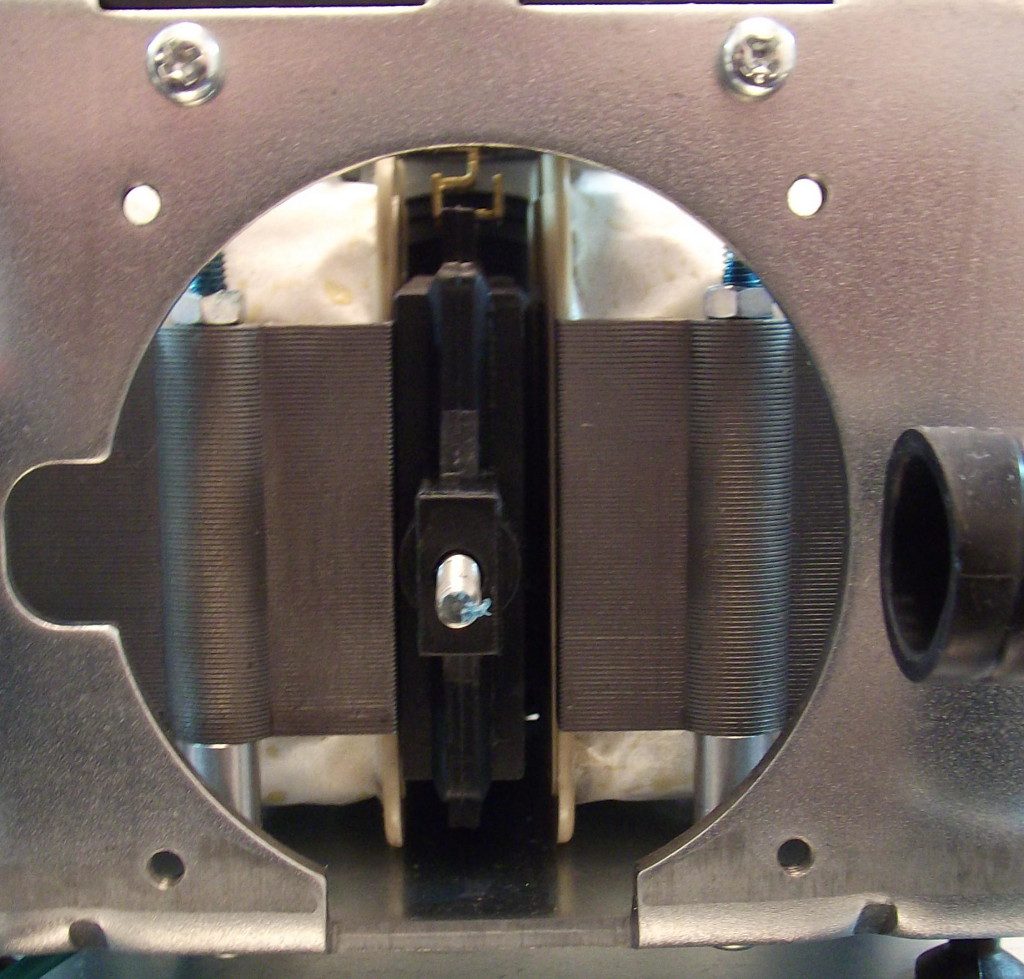 STEP 10: Put New Diaphragms On
Put the new diaphragms on where the old ones used to be.
Replace nut.
 STEP 11: Put On New Mounting Blocks
If you bought the complete kit put the new mounting blocks on. If you bought the diaphragm only kit put the old mounting blocks back on.
Screw in the the mounting blocks with the 4 screws.
 STEP 12: Put Rubber L Tubes Back On
 STEP 13: Put Rectangular Filter Back On
STEP 14: Remove Safety Screw
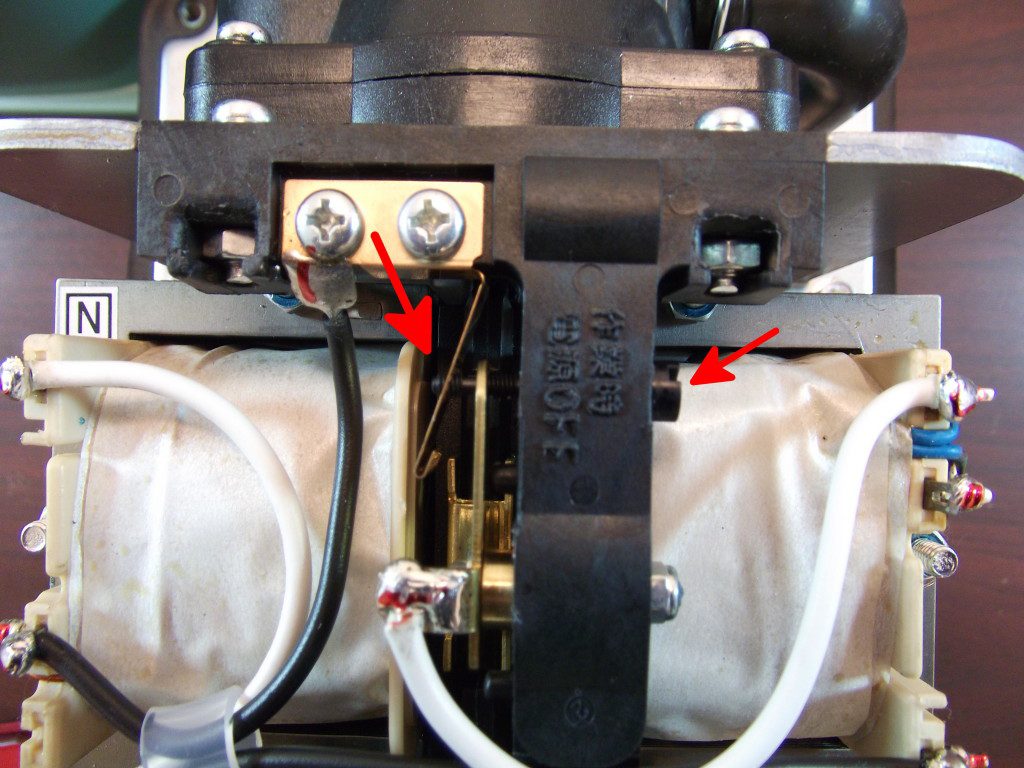
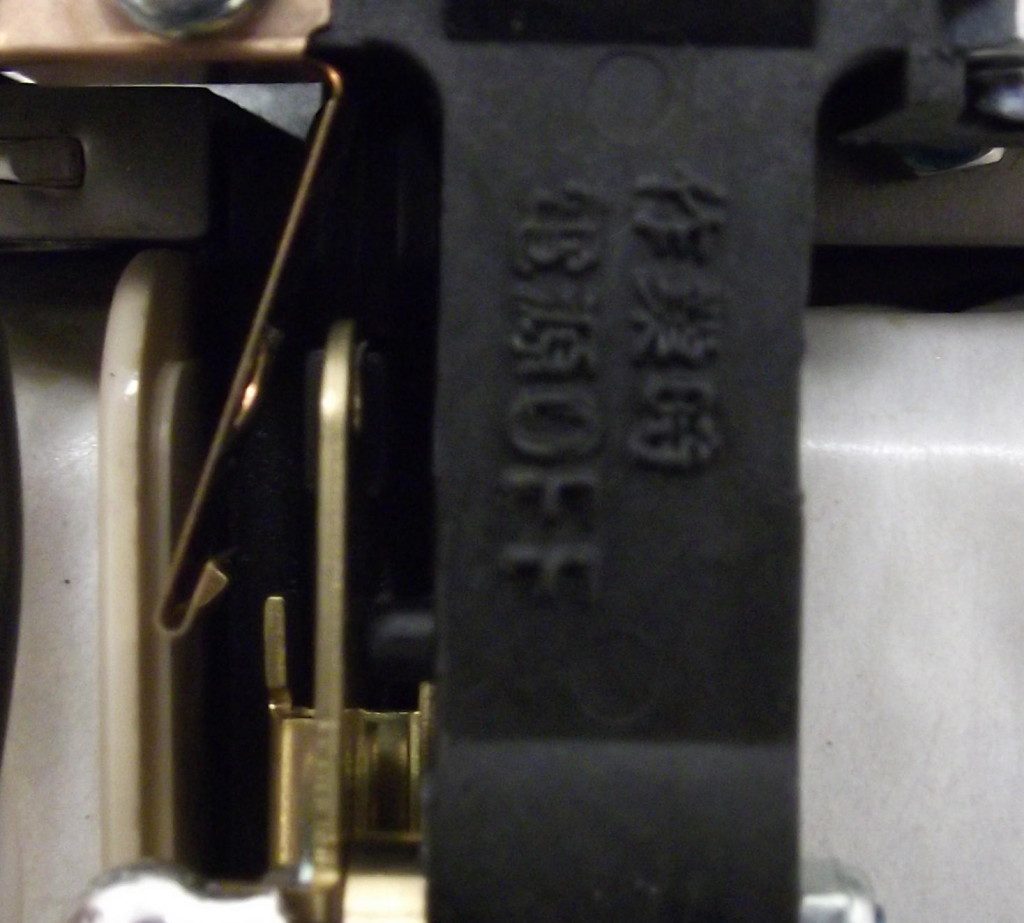 STEP 15: Put New Safety Screw In
Put new safety screw in.
Put the plastic nut on.

 STEP 16: Tighten Safety Screw
Tighten Hiblow safety screw until the 2 metal plates touch.
 STEP 17: Put Hiblow Cover Back On
 Done
Done
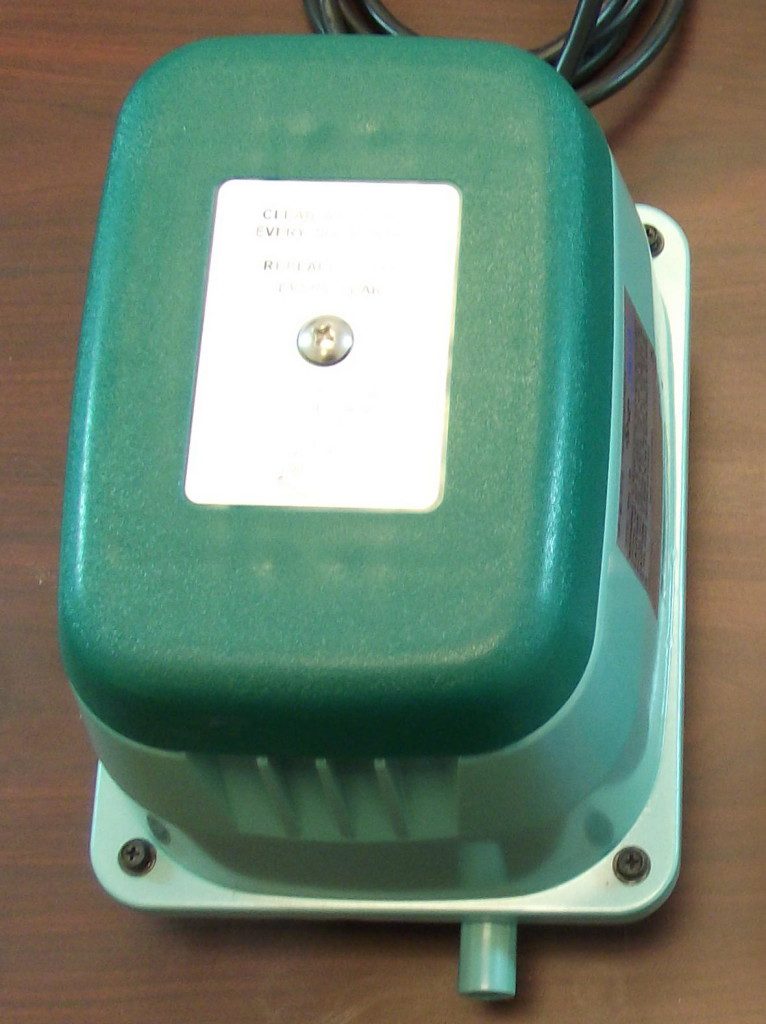
You have successfully repaired your Hiblow Aerator. You aerator should now run with no problems.
You can also view the Hiblow Maintenance Video here

