Most Linear Air Pumps are designed with some sort of safety mechanism to turn the pump off in the event of diaphragm failure. When the diaphragms break the air pump will experience excessive vibrations. In the Hiblow HP 80 the vibrations cause a plastic safety screw to break, causing a break in connection. The downside of this design is that you have to buy a new safety screw every time your diaphragms fail.
The Gast Linear Air Pumps feature a different design. They have 2 internal switches that switch off when the diaphragms break. This has the advantage of not requiring you to buy an additional part. Sometimes it can be difficult to find the switch. This guide will show you how to reset the switch to allow the Gast Linear Air Pumps to turn back on.
Note: Sometimes people report that the switches are turned off whenever they first buy the pump. This is compleatly normal. Please follow the instructions below to get your aerator up and running.
We will be using a Gast DBSM800-1250 in this tutorial but the process is the same for many of the Gast linear air pumps.
Step 1 – Remove The Top Of The Aerator
We don’t have a picture for this but it is pretty easy. Simply remove the 4 screws from the corners of the aerator then take the top off. Sometimes the top may not come off easy. You may have to use a flat-head screwdriver to pry the top off.
Step 2 – Locate The Switches
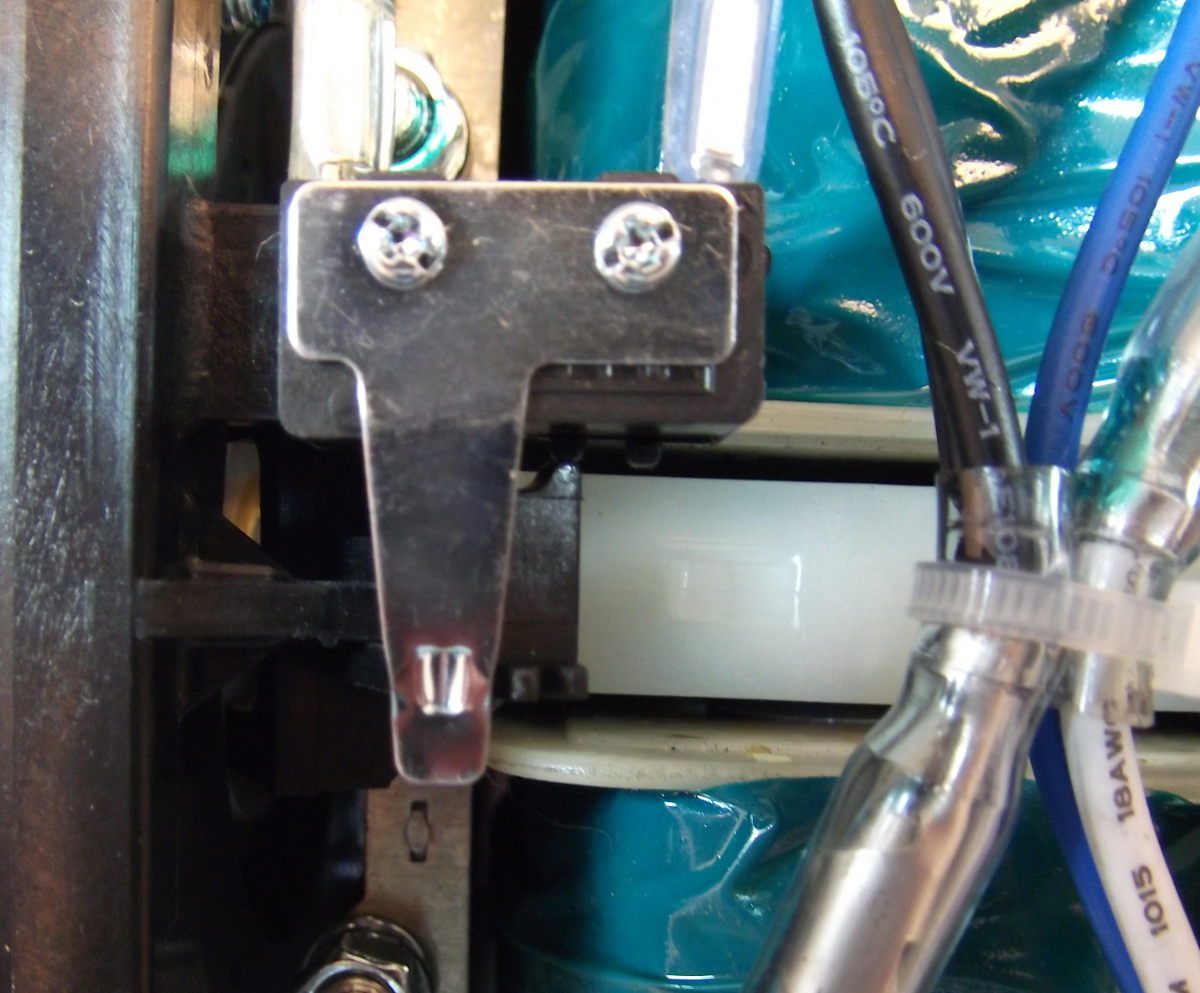
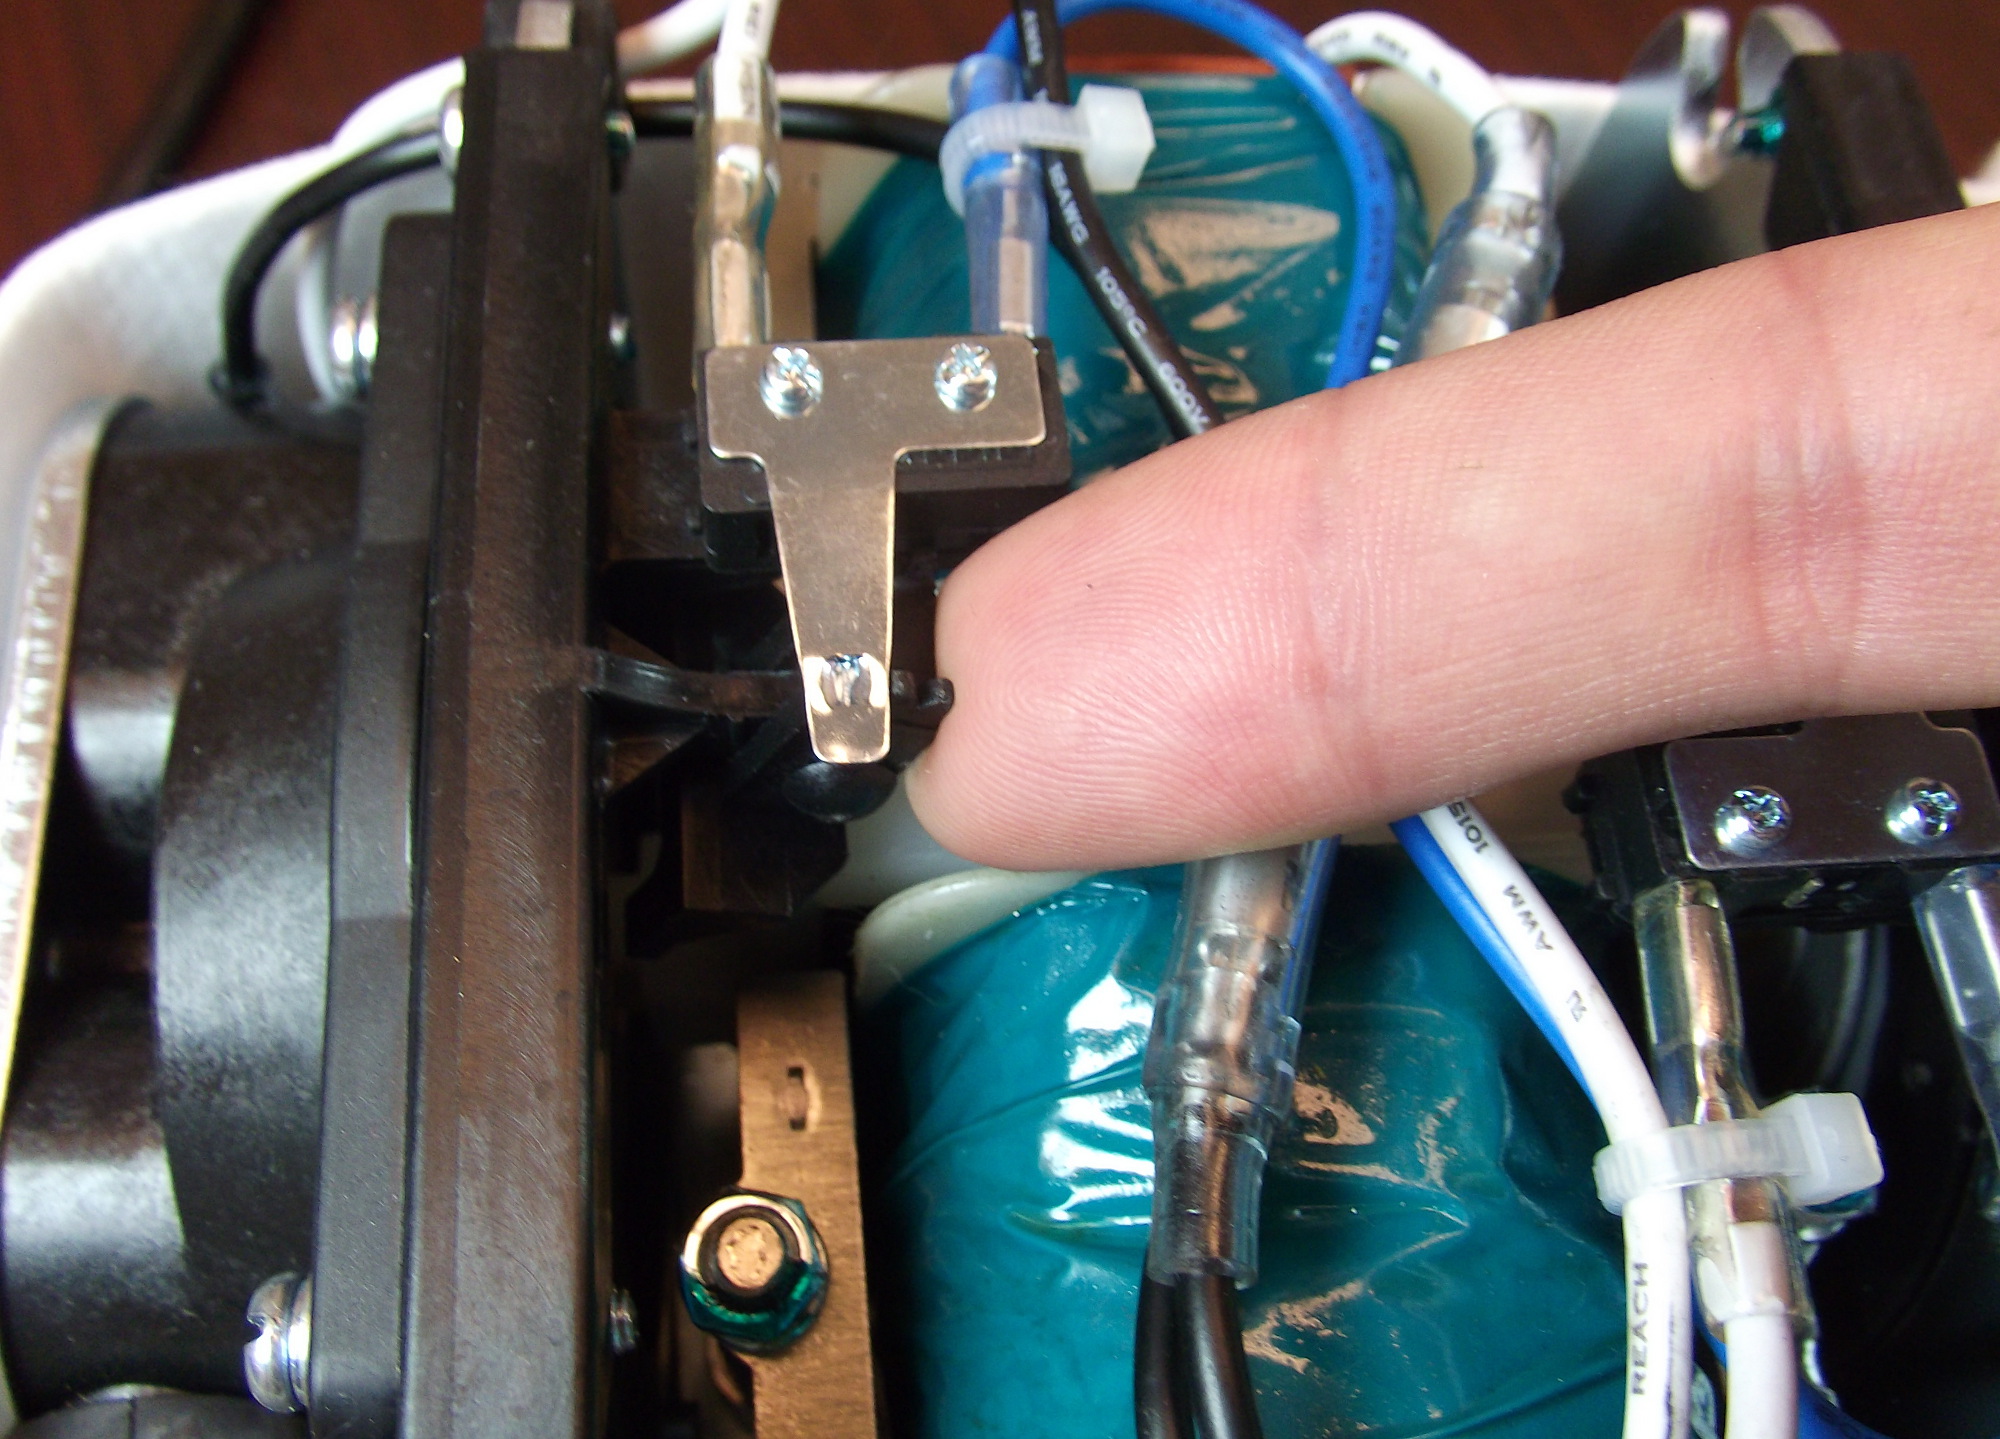
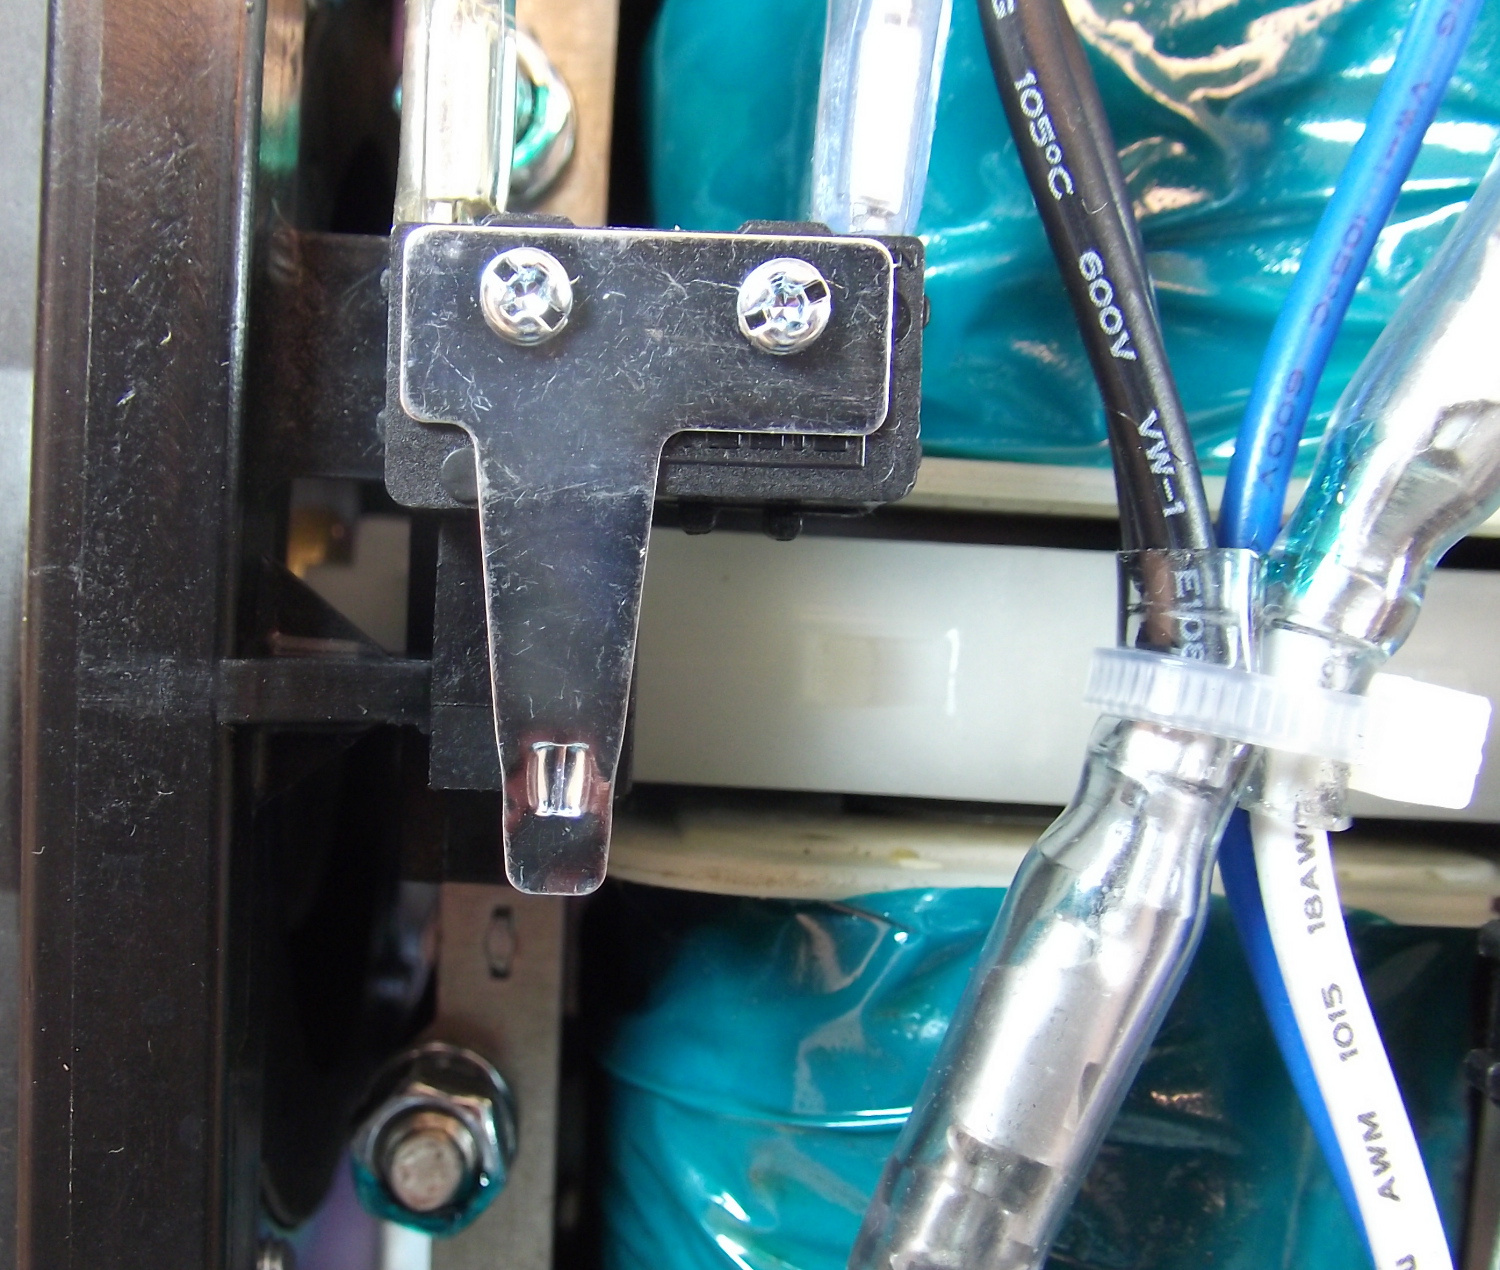
 The 2 pictures above show the location of the 2 switches. They do not look like most switches. We will need to switch both of these back to the normal position for the aerator to function.
Step 3 – Switch Both Switches To ON Position

 Done – That’s all there is to it.
Once both of the switches are turned back, you are done. Plug it in, confirm that it is working, then put it to use.
