
Change Filter On A Hiblow Aerator
This is a tutorial on how to change the filter on a Hiblow Aerator. In this tutorial we will be using a Hiblow HP 80 for our example. However this same process will work for all the following Hiblow Aerators.
What is needed?
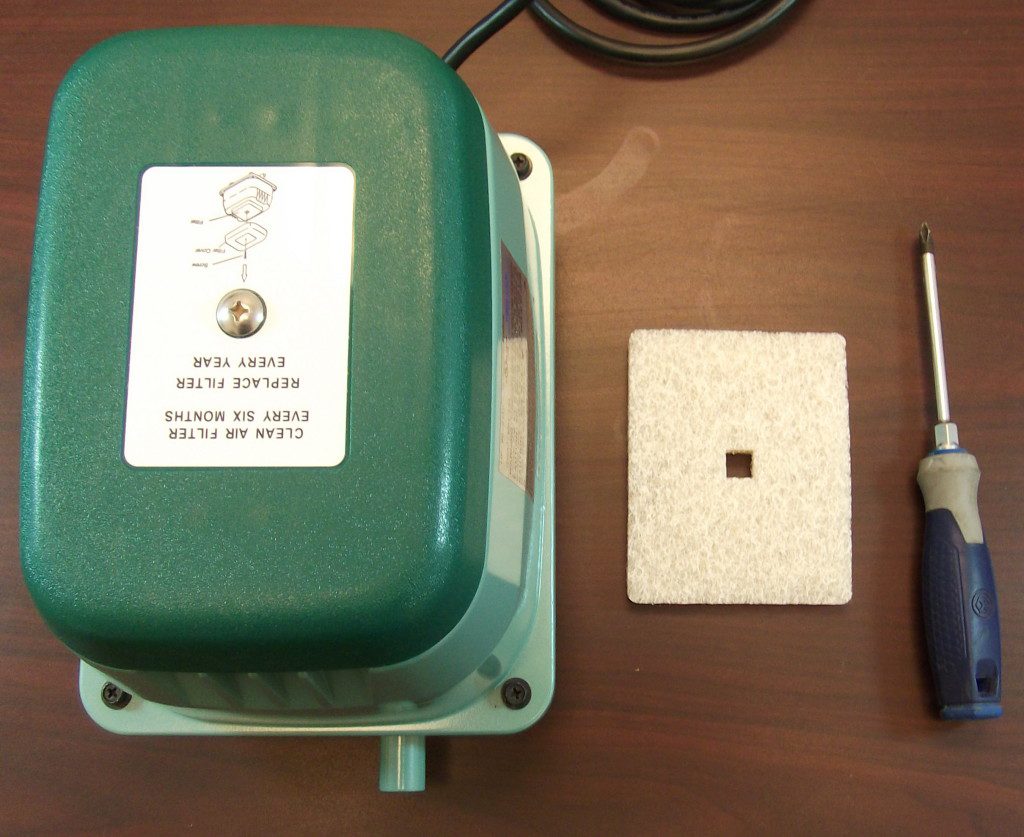
Changing the filter is very simple and does not require many parts. All you need is…
- Your Hiblow Aerator
- A New Filter
- A phillips screwdriver
Depending on what aerator you have you will need a different size filter. Use the links blelow to make sure you purchase the correct filter.
NOTE: Many of our rebuild kits come with the necessary filter.
STEP 1: Gather your supplies
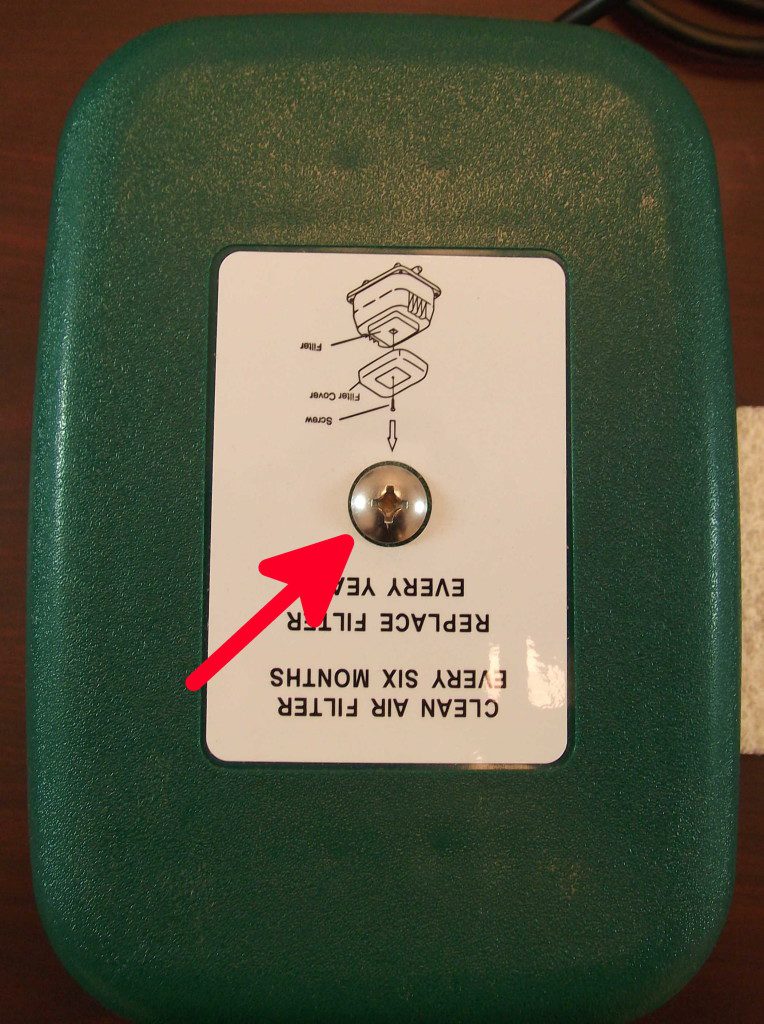
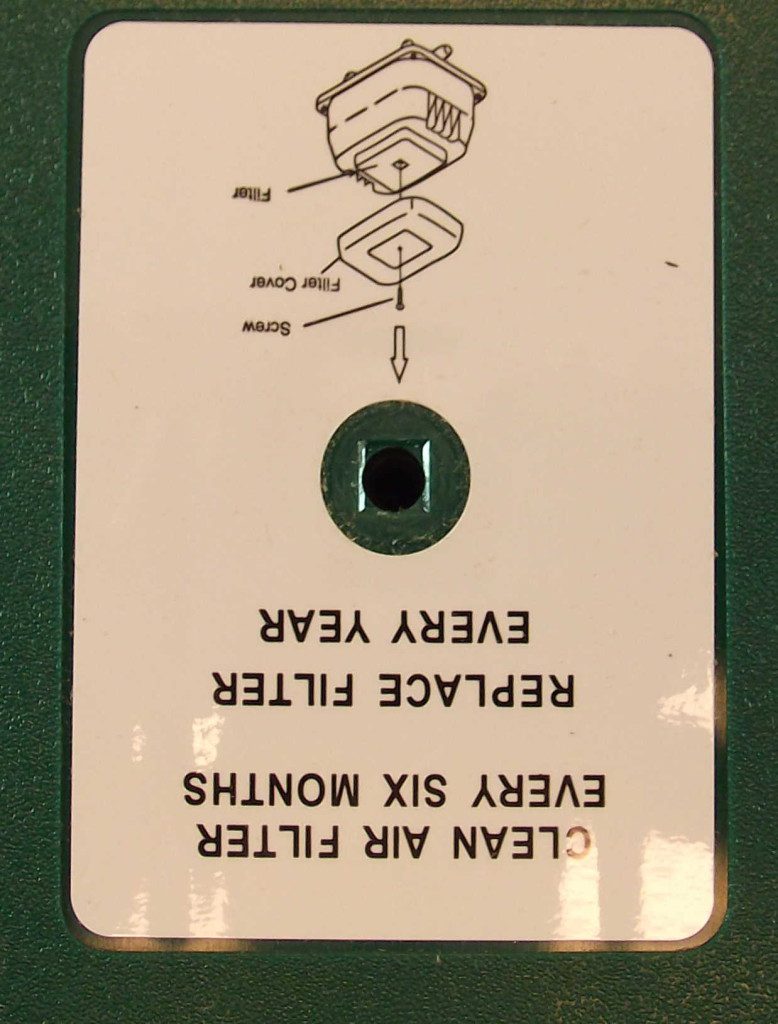
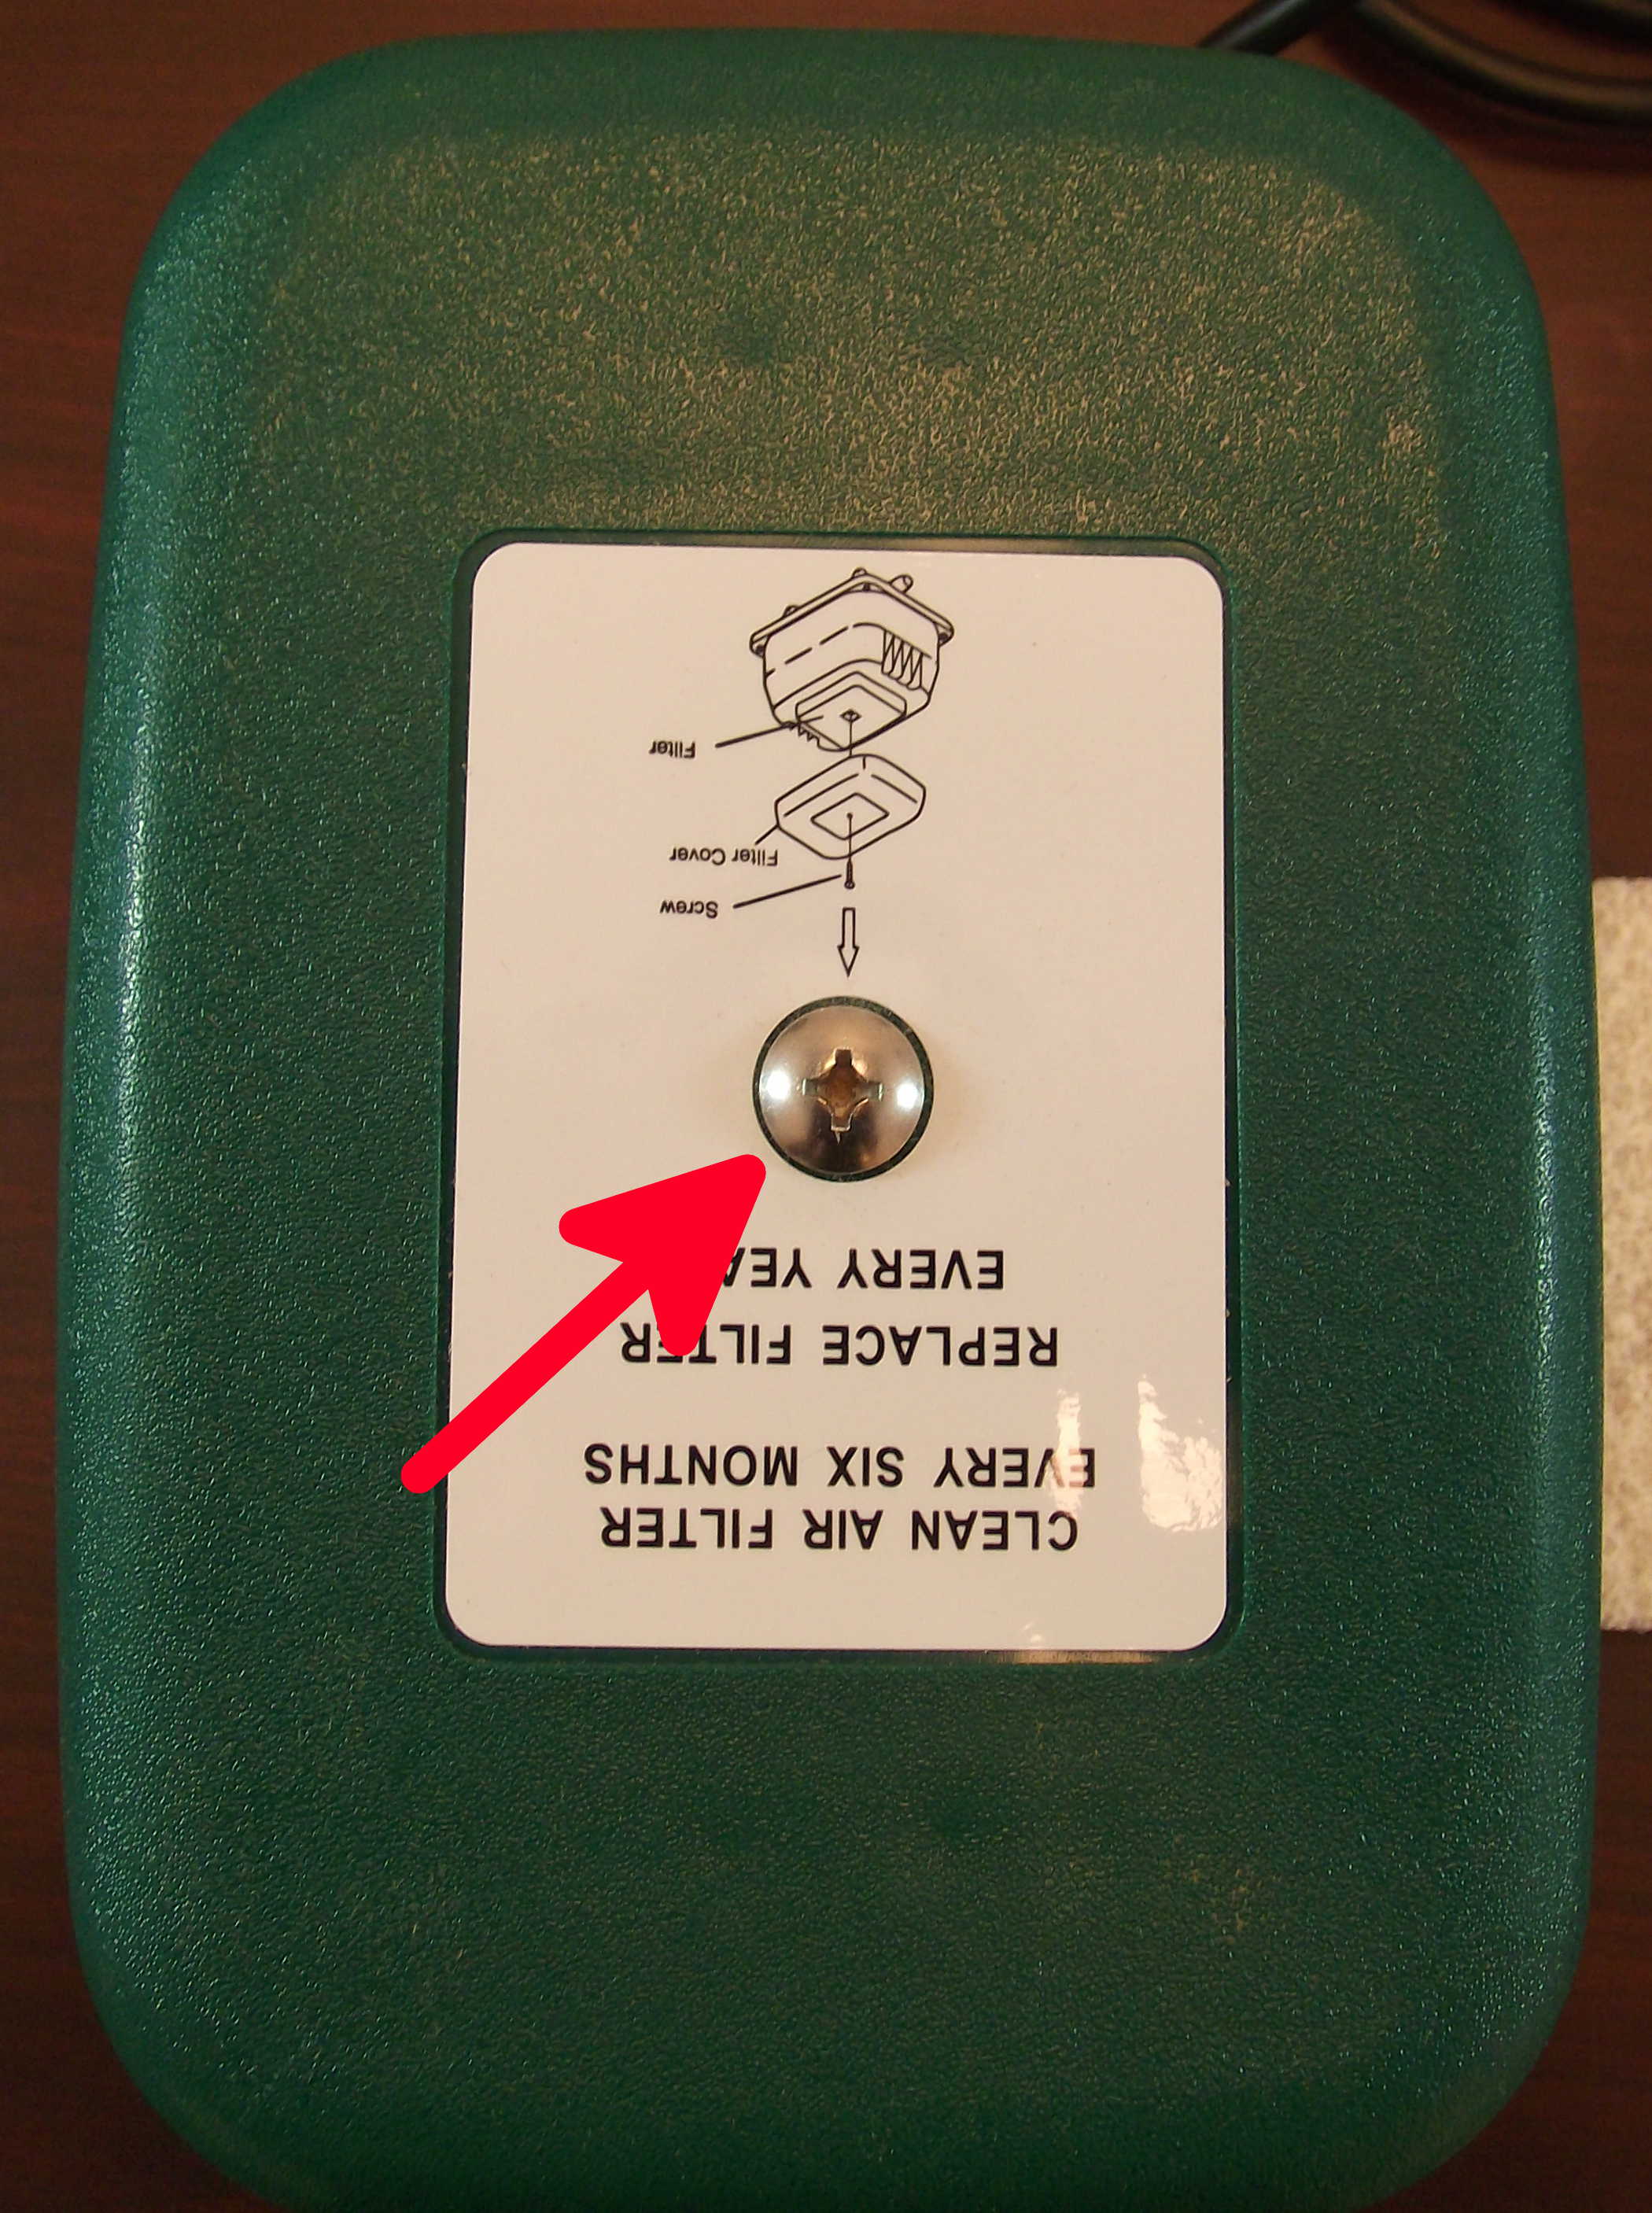
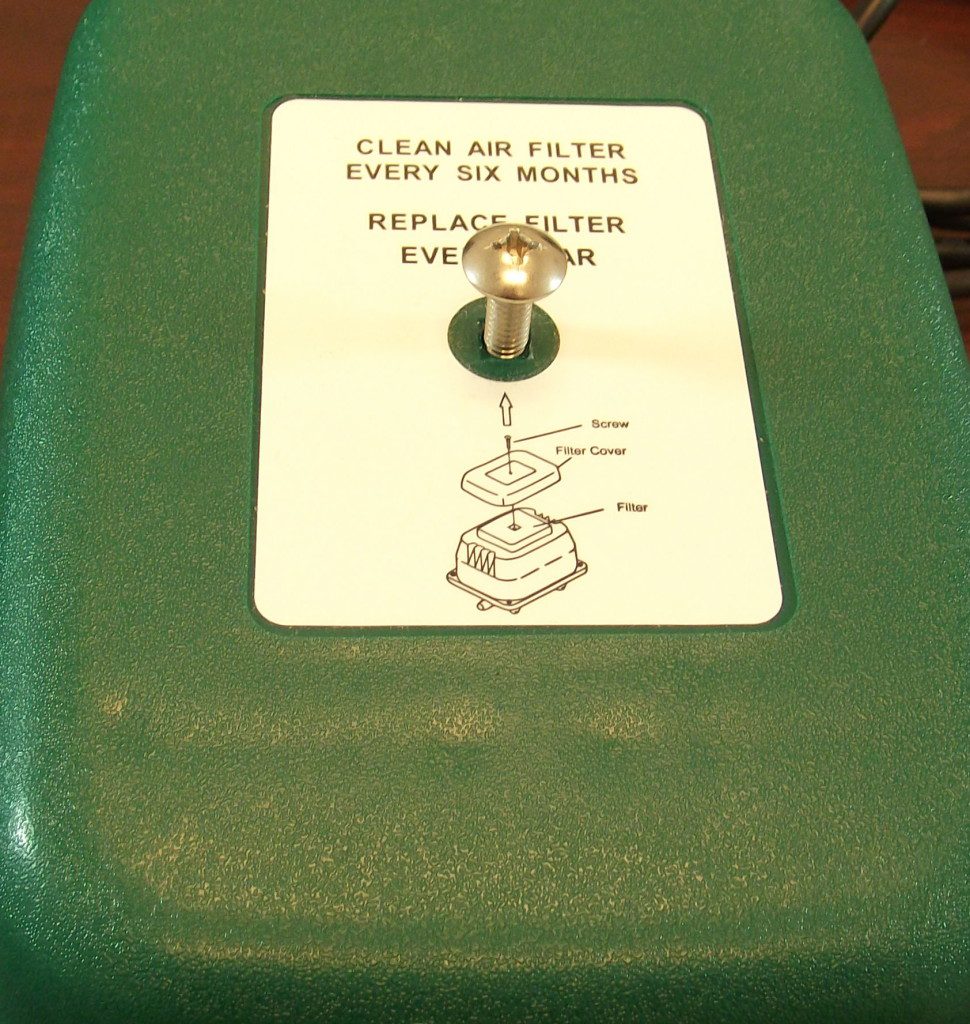
 STEP 2: Remove Top Screw

Remove the screw holding the top cover on. See arrow below
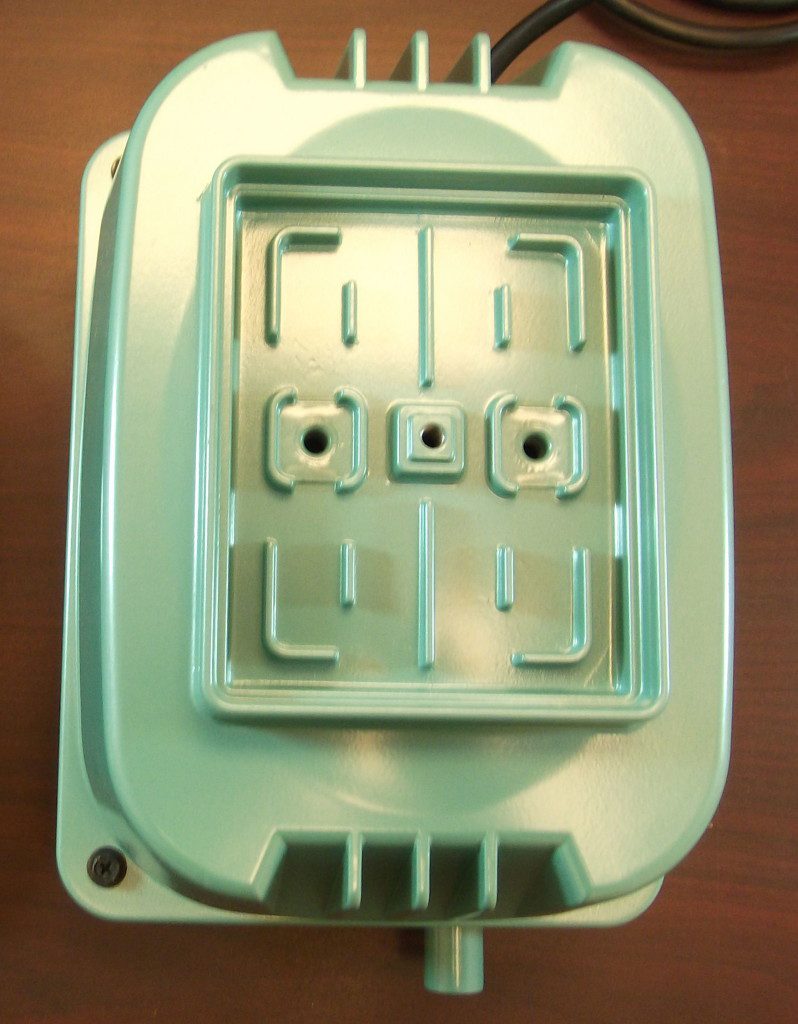
 STEP 3: Remove Top Cover

Remove the dark green top cover of your aerator revealing the filter. NOTE: we made this tutorial using a brand new Hiblow HP 80. The filter in this aerator has never been used and does not need to be replaced. Your filter should look much dirtier than the one pictured below.
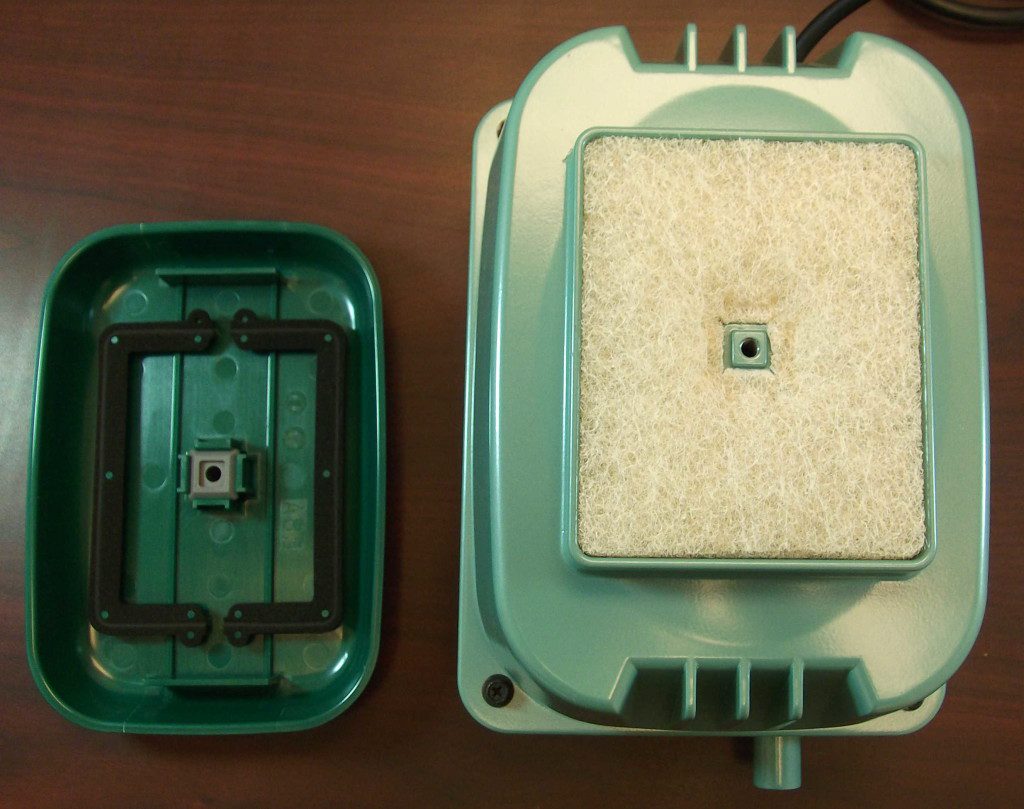 STEP 4: Remove Filter

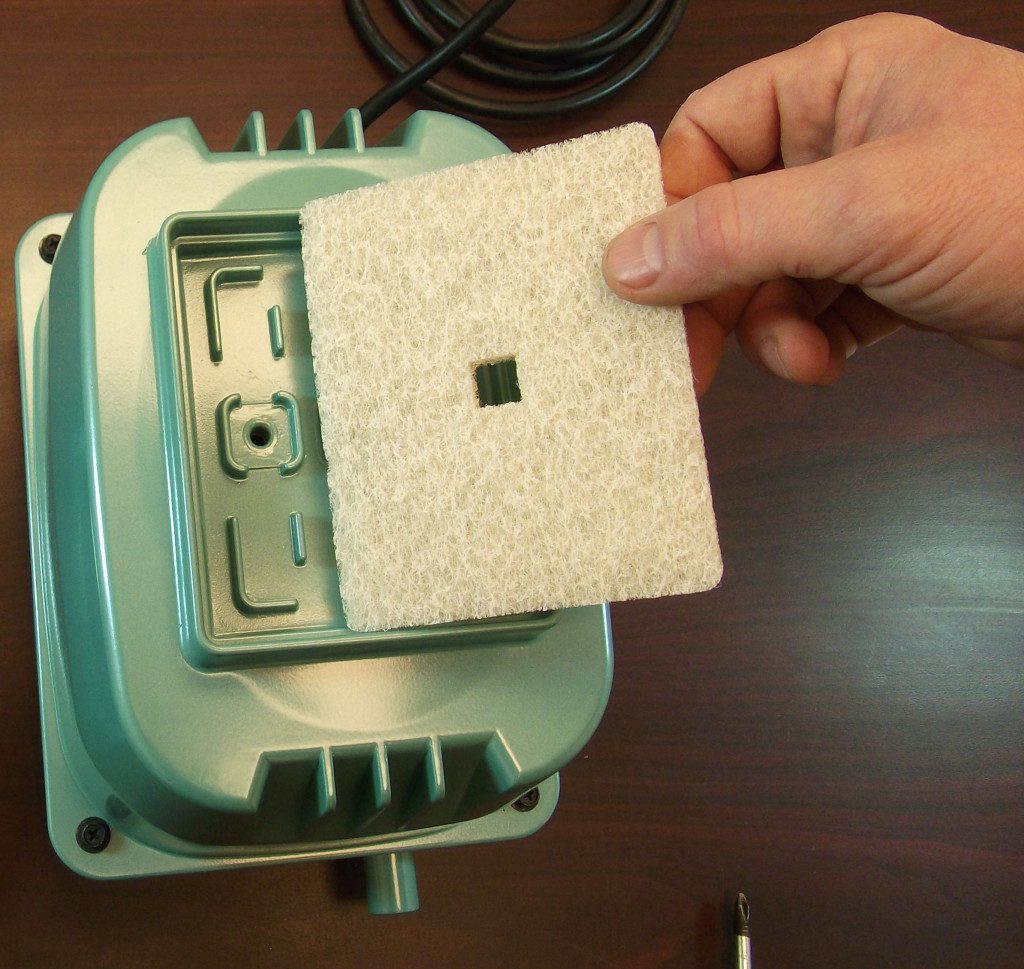
 STEP 5: Insert New Filter

 STEP 6: Put Lid Back On

Once the filter is correctly inserted, place the dark green cover back on and screw it in.
 Finished

That’s it. You have successfully changed the filter for your Hiblow aerator. You should only have to do this about once a year.
You can also view the video of the process here