Today we will show you how to instal a riser system on a septic tank. This guide is for those who have a concrete septic tank that does not have risers installed. Installing risers and lids on you septic tank is now required by many states. Installing a riser system can also save you money when it comes time to get your septic system pumped out. Please follow the guide below and you will have no problems.
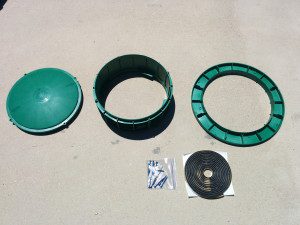 Step 1 – Gather The Parts You Need
To install a riser system on your septic tank you will need the following items. (Click on the item to buy them)
1) Tuf-Tite Tank Adapter Ring (TAR)
2) Kit For Riser Adapter Rings
3) Butyl Rope
5) Tuf-Tite Domed Lid OR Tuf-Tite Flat Lid
Note: You will need to meausre the size of the hole in your septic tank. Then buy the Adapter and Risers slightly larger than the hole. For example, if the hole in your septic system is 22in across at its longest point you will need to purchase the 24″ Tank Adapter Ring, 24″ Risers, and 24″ Lid.
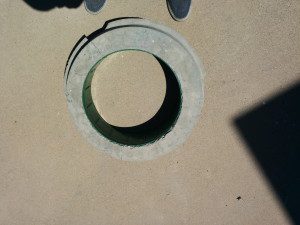 Step 2 – Clean The Top Of Your Septic Tank
You will want to remove any dirt that is on the top of your septic tank. Doing so will help insure that you create a good seal. Pictured to the left is a concrete ring. We are using this to demonstrate how to install a riser system. This is meant to provide a visual representation of a hole in a concrete septic tank. This one is 16″ in diameter. Your hole may be larger or smaller. If you have a square hole this will work the same. Just make sure you measure the hole diagonal before you buy the proper Tuf-Tite Tank Adapter Ring.
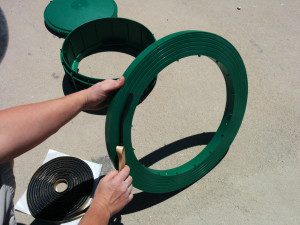 Step 3 – Apply Butyl Rope To Tank Adapter Ring
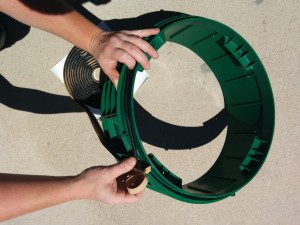
Apply a ring of butyl rope to the bottom of your Tuf-Tite Tank Adapter ring. This will help provide a water-tite seal. Make sure the butyl goes all the away around the Adapter Ring.
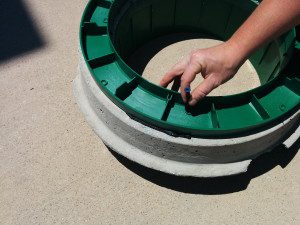 Step 4 – Put Adapter Ring Around Hole And Screw It Down
Firmly press the Tuf-Tite Tank Adapter Ring onto your septic tank. Use the drill bit included in the kit to start the holes. The Adapter Ring will have divots where the holes go. Once you have pre-drilled the holes use the included blue concrete tapping screws to fix the ring to the top of your system.
 Step 5 – Add Butyl Rope To The Bottom Of Each Riser
On the bottom of each riser there will be recessed ring. Put a strip of butyl rope in this ring. This will keep the risers water tight.
Step 6 – Put Risers and Lids On The Adapter Ring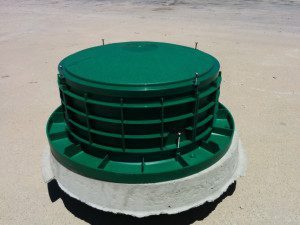
Now put your risers on your Adapter Ring. They will screw into place using the stainless steel screws. Add as many risers as you need to bring it up to the desired height.
That’s it. You have successfully installed a riser system on your septic tank that should pass inspection anywhere in the United States.
